Teaching about Hours
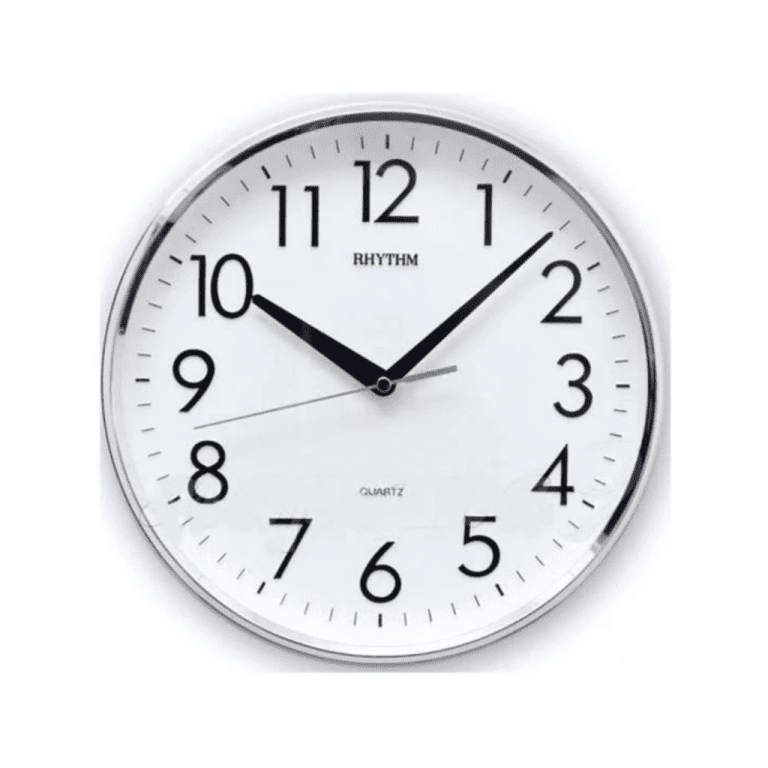
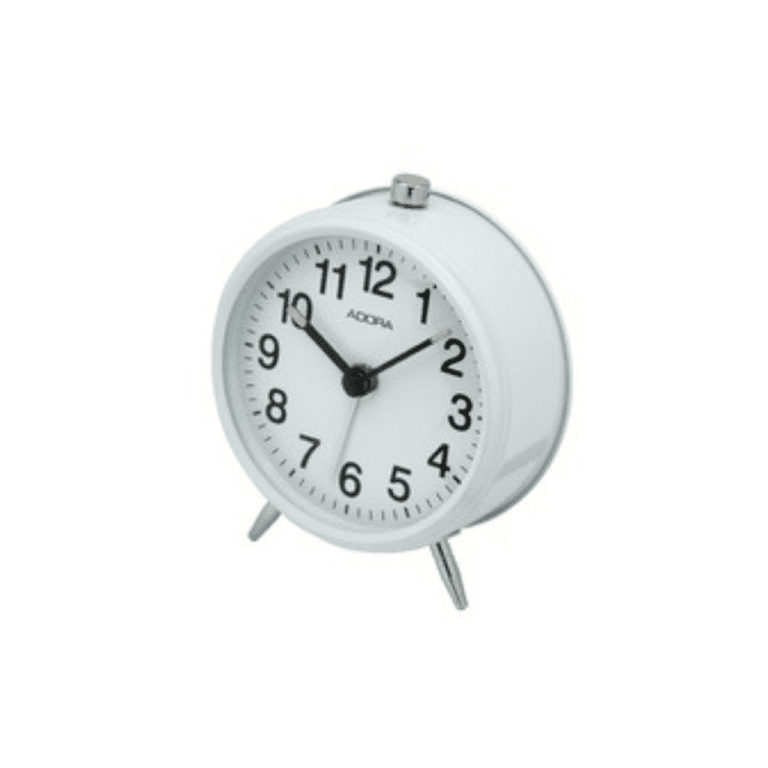
- Differentiate between the hands. Point to both hands on the clock. Ask your kid what the major difference between the hands is. If they are struggling, you can give them a hint like, “Is one longer than the other?”
- You can use the actual clock in your classroom to show your students how the second, minute, and hour hands are moving.
- Label the clock hands. Once they have identified that the hands are different lengths, then explain the difference. Tell them that the shorthand is the hour hand and the long hand is the minute hand. Have your kid label the hands by writing down “hour” on the shorthand, and “minute” on the long hand.
- Use differently colored crayons to show the relationship between the second, minute, and hour hands.
- Explain the hour hand. Point the hour hand at each number, keeping the minute hand at 12 o’clock. Tell your kid that each time the hour hand points at a number and the minute hand points at 12 o’clock, it is ___ o’clock. Go through each number saying, “It is 1 o’clock now. Now it is 2 o’clock. It’s 3 o’clock…” Then have your kid repeat what you just did.
- Make sure to use the pie slices and colors to your advantage. Reinforce the idea that whenever the hour hand is in a given pie slice, it is ___ o’clock.
- You can even associate activities with each number to help solidify the hours; for example, “It is 3 o’clock now, which means it is time to watch your favorite cartoons,” or, “It is 5 o’clock now, which means it is time for soccer practice.”
- Quiz the child. With your kid’s help, pick a day of the week and write down a list of 5 to 7 activities with their associated times. Call out an activity and its associated time. Have your kid place the hour hand on the correct number. If necessary, gently correct your child’s mistakes.
- Say, for example, “School has ended, which means it is 3 o’clock. Move the hands and show me 3 o’clock on your clock,” or, “It is 8 o’clock, which means it is time for bed. Move the hands and show me 8 o’clock on your clock.”
- Make a game of setting the paper clock together to match the times of daily activities. Use a working analog clock as a reference tool.
Teaching about Minutes
- Explain the double meaning of the numbers. Explaining that the number 1 also means 5 minutes and that the number 2 also means 10 minutes can be quite confusing. To help your kid understand this concept, pretend that the numbers are double agents with a secret identity, like Clark Kent and Superman.
- For example, tell your kid that the secret identity of number 1 is 5. Then have them write down a small number 5 next to the number 1. Repeat this for each number.
- Make sure to point out that you are counting by 5s. Go over each number’s secret identity by singing your special “Count by 5s” song.
- Explain the minute hand’s role. Tell your kid that the numbers’ secret identities come out when the long hand, i.e., the minute hand, points at it. Keeping the hour hand still, point the minute hand at each number and say the associated minutes. Than have your kid repeat the process back to you.
- For example, point the minute hand at 2 and say, “It is 10 minutes now.” Then point the minute hand at 3 and say, “It is 15 minutes now.”
- Demonstrate how to read the hour and minute hand together. Once your kid has the concept of the minute hand down, you will need to teach them how to read the hour and minute hands together. Start with simple times such as 1:30, 2:15, 5:45, and so on. Point the hour hand at a number, then point the minute hand at a number. Then say what time it is.
For example, point the hour hand at 3 and the minute hand at 8. Tell your kid that the time is 3:40 because the hour hand is pointing at 3 and the minute hand is pointing at 8. Reinforce the idea that because the minute hand is the secret identity hand, it reads as 40 and not 8. Repeat this activity until your kid gets the hang of it.
- Add tick marks for the non-5 minutes. Once your kid understands 5-minute intervals, add 4 tic marks between each interval. Start by writing 1, 2, 3, and 4 next to the tick marks between the 12 and 1. Encourage your child to fill in the rest of the minutes, counting out loud as you go. Then point the minute hand at a non-5 minute and the hour hand at an hour. Read the time.
- For example, point the minute hand at the fourth tick mark and the hour hand at 3. Tell your kid that the time is 3:04. Repeat this process until your kid understands how to read the tick marks on the clock.
- Quiz your child. With your child, make a list of 5 to 7 activities with their associated times. Have your kid move the hands of the clock to reflect the activities’ correct times. It is okay to help your kid in the beginning. Just make sure to repeat the activity until your kid can point the hands at the right numbers without your help.
- Encourage your kid by rewarding them for doing a good job. Take them to the park or to the ice cream shop to celebrate a productive lesson.
- Try to quiz your students every day by asking what time it is
- Make it challenging. Once your kid has mastered the activity on their handmade clock, move to the analog clock that does not have the numbers’ secret identities. Repeat the activity with this clock to see how well your kid has mastered the concept of telling time.
Credited to:wikihow