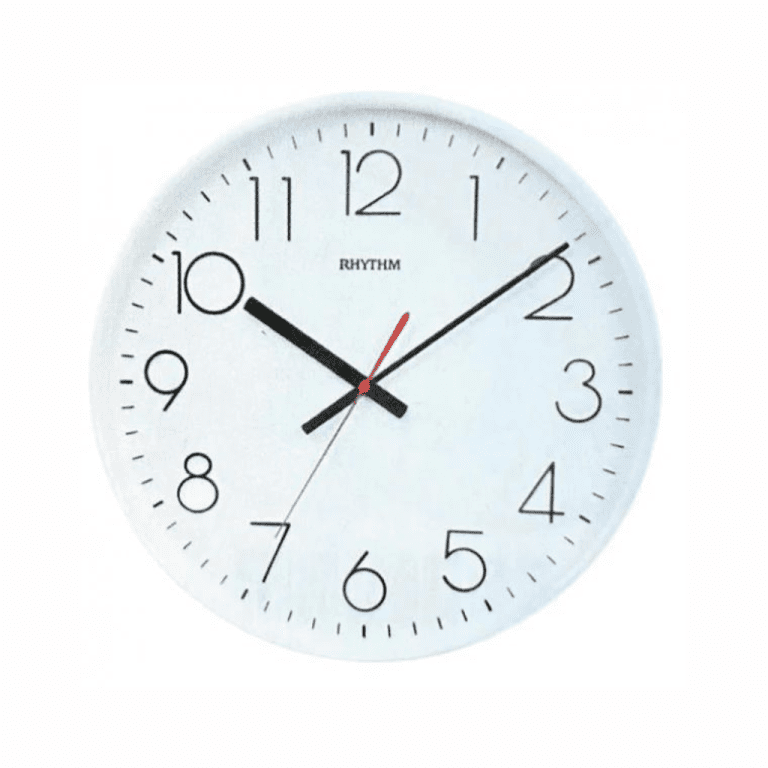
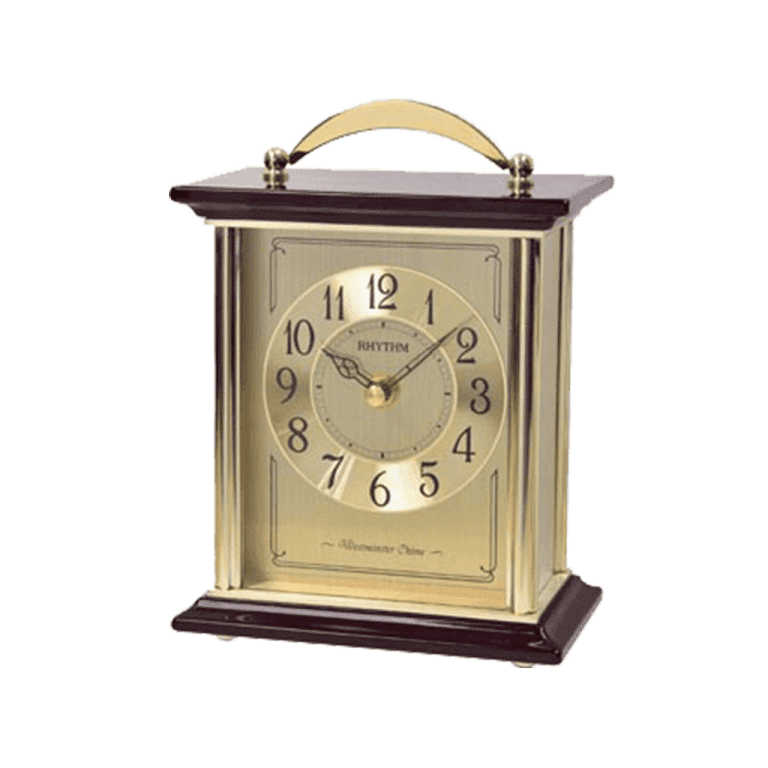
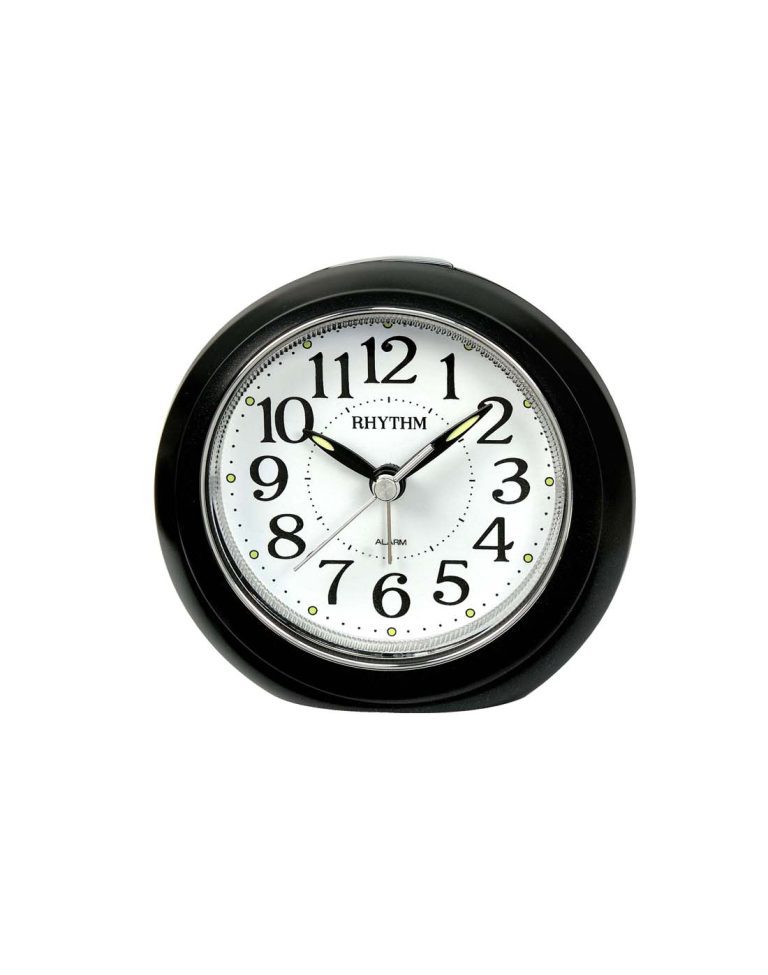
- Grab 2 paper plates and an analog clock. The paper plates will be used to make the clocks. The analog clock will be used as a reference for making the clocks. Place them on a table and sit with your kid at the table. Let your kid know in an excited voice that, together, you all will be making your very own clocks.
- For example, “Guess what we are doing today? We are going to make our own clocks!”
- Fold the paper plates into halves. Have your child hold their paper plate and fold it in half. Then rotate the plate and fold it in half again. The paper plates should have a cross-like crease in the middle. You will use this crease as a reference point.
- Place stickers and numbers on the clock. Have your child place a sticker on the top of the clock face where the number 12 should be. Then referencing the analog clock, ask them to write the number 12 under the sticker with a marker. Repeat this for the numbers 3, 6, and 9
- Fill in the clock. Once your kid has placed stickers and numbers on the 12, 3, 6, and 9, ask them to fill in the rest of the clock. Show your kid the analog clock as a reference.
- For example, tell them to place a sticker where the number 1 should be. Then have them right the number 1 next to the sticker. Repeat this for each number.
- Create pie slices on the clock. Have your child draw a line from the center of the clock to each number. Tell your child to color in each pie slice with a different color crayon.
- Try starting with red at one o’clock, working upward through the rainbow for each number. This will help make the number progression more intuitive for your child than simply using random colors.
- Make the clock hands. Draw 2 clock hands on a poster board—a long one for the minute hand and a short one for the hour hand. Have your child cut out the clock hands with scissors.
- If your child is not old enough to use scissors safely, then cut the minute and hour hands out for them.
- You can also make the clock hands with construction paper
- Attach the hands. Place the hour hand on top of the minute hand. Pierce a paper fastener through the ends of the clock hands. Then pierce the paper fastener through the middle of the clock. Turn the clock over and bend the fastener ends to secure the clock hands
Credited to:wikihow


