Not sure how to move a grandfather clock? Often, these decorative pendulum clocks happen to be precious family heirlooms passed down from generation to generation. The grandfather clock’s vintage charm and sentimental value make it a true treasure in the eyes of its owners. While we typically recommend hiring a specialty moving company to move this valuable and fragile antique, we understand that not everyone has the resources to do so. Fortunately, moving a grandfather clock on your own is possible with the help of a friend and the right tools.
In order to ship these heirlooms, a grandfather clock must be properly disassembled and packed with care. Moving these antiques is not something that should be rushed, so be sure to allow at least 45 minutes to an hour of your time. While grandfather clocks vary depending on when and where they were made, each freestanding clock should feature a pendulum, clock face and several weights, as well as a set of cables or chains to suspend the weights inside of the tall clock.
Here are a few things to keep in mind when moving a grandfather clock:
- We recommend wearing gloves when removing and handling the fragile parts of your grandfather clock, including the weights, pendulum and inner workings. Keep in mind that the older the clock, the more fragile these parts may be. Use extra caution when removing and packing them.
- Use a truck rental or large vehicle to move your grandfather clock. Given how large and fragile grandfather clocks are, we don’t recommend moving them with your car.
- When reassembling the grandfather clock after the move, we recommend wiping it down with a soft damp cloth to remove dust and debris. If you decide you want to clean the clock, enlist a professional so that it’s done right.
Here’s our step-by-step guide for properly disassembling and moving a standard grandfather clock.
-
Round up your tools and supplies
- Begin by gathering all necessary moving tools and supplies. To ensure that your grandfather clock is moved with the utmost care and attention, we recommend finding either a pair of gloves or a clean cloth for removing the parts. You’ll also need moving blankets, padding and bubble wrap to protect each of the parts inside and outside of the grandfather clock. Other necessary moving supplies include a dolly (which can be rented from your local Home Depot), moving boxes to hold and transport the parts, and a large crate or moving box to hold the outside of the grandfather clock.
-
Reserve a truck rental
- If you’re planning to move the grandfather clock to another home, you must have a vehicle large enough to hold it. Fortunately, you won’t need a large moving truck. In fact, you can probably get away with renting a small box truck with a loading ramp. For assistance with renting a moving truck, check our truck rental center. We compare five popular truck rental companies to help you decide which one is best for your move.
-
Enlist help
- Grandfather clocks weigh anywhere from 100 to upwards of 300 pounds and require special attention when moving them from one place to another. While it’s possible to move a grandfather clock by yourself, we recommend having at least one partner nearby to help out with the heavy lifting. Be sure to ask any friends or family members as far in advance as possible. If you’re unable to find help, we recommend hiring hourly movers from our Moving Help and Labor Center powered by HireAHelper. These labor-only movers will come to your house and assist with any and all heavy lifting on moving day.
-
Familiarize yourself with the Grandfather Clock
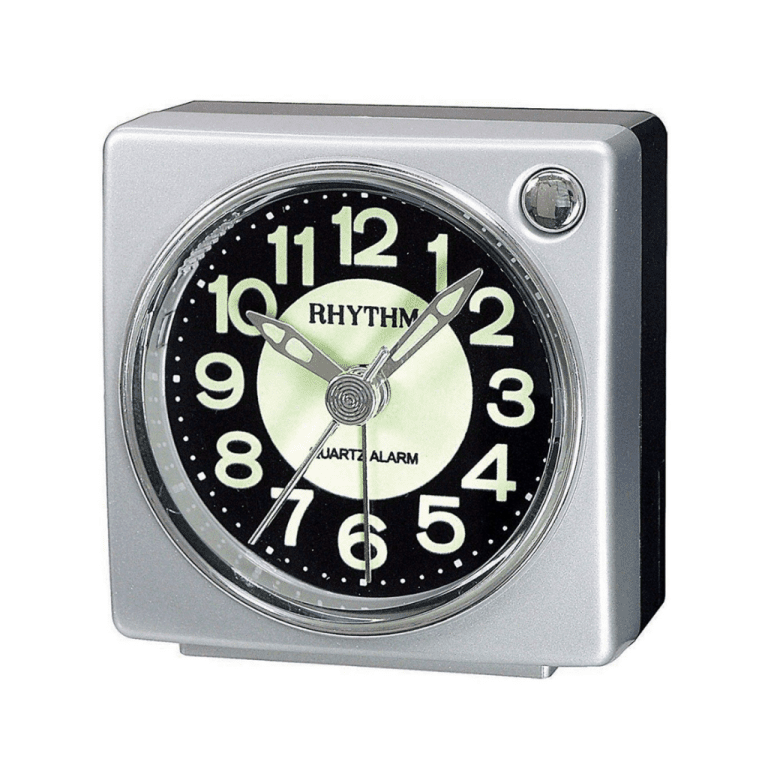
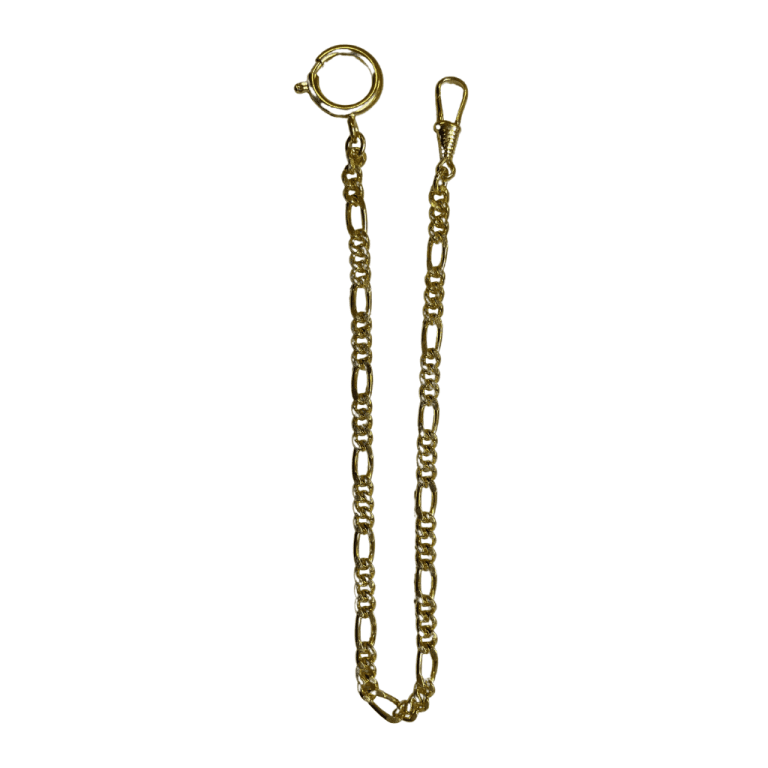
- While there are many different kinds of grandfather clocks out there, they all operate in a similar way. The pendulum, a device that swings back and forth inside of the clock, is supported by the pendulum guide. Inside the body of the clock, you’ll also find a set of hanging weights (usually three). These weights are supported by either chains or cables, which act like pulleys. The top of the grandfather clock will have glass side panels and a glass front panel.
-
Remove glass panels
- Before moving a grandfather clock, you should always disassemble the parts inside. Do not under any circumstances try to move a grandfather clock without taking it apart first. Begin by putting on your gloves and removing the clock’s side and front glass panels. These fragile panels must be carefully wrapped in bubble wrap and/or extra padding to prevent them from breaking while in transit. Make sure they are packed inside of a moving box labeled “Fragile.”
-
Tie cables or chains to prevent tangling
- Next, reach inside through the side panel and wind (or crank) the weights almost to the top. Holding the ends of the cables or chains together with your hands, secure them with either packing tape or a twist tie. This will prevent the chains from becoming tangled up in each other while the weights are being removed and the clock is in transit.
-
Remove weights
- Now that the chain or cables are held together, reach inside and remove the weights one by one. As you remove the weights, wrap them in either bubble wrap or packing paper for protection. Be sure to label each individual weight with its corresponding location inside of the clock (for example – left, center, right). After the move, these weights will need to be placed back inside the clock in their original location.
- Remember: You never want to move a grandfather clock with the weights inside. The reason? These weights will likely swing around while the clock is being transported to the new home. This could damage parts of the grandfather clock, including the weights themselves.
-
Remove the pendulum
- Next, you’ll need to remove the pendulum. To remove it, stop it from swinging back and forth first. The pendulum should be attached to the pendulum guide at the top. Gently unhook the pendulum from the pendulum guide. Wrap the pendulum in bubble wrap or packing paper and carefully place it inside a moving box.
-
Secure chimes and remove the top of the clock
- If your grandfather clock has chime rods and chime hammers, these should also be secured. Otherwise, the chimes will vibrate when moving the clock. To secure the chimes in place, you can use foam pieces, bubble wrap or cut-out cardboard to keep the chimes separated. This will prevent them from moving and making noise during the trip. If it’s possible to remove the top (also called the “hood”) of the grandfather clock, disassemble it gently and place it on a table. Wrap the face of the clock in plastic bubble wrap and secure with packing tape. Wrap the top of the grandfather clock in a protective covering, such as a moving blanket.
-
Move the Grandfather Clock to the truck rental
- Once all of the individual parts are packed away, begin wrapping the outside of the grandfather clock in moving blankets. For extra protection, we suggest taking a large moving box with both the top and bottom ends open, then sliding it from the top of the grandfather clock to its middle. This should protect the grandfather clock on all four sides. If you prefer, you can pack the clock inside of a moving crate instead.
- With the help of a friend, slide the dolly underneath the grandfather clock and tilt it back slightly. One person can hold the grandfather clock from behind, while the other can control the dolly and the grandfather clock from the front. Finally, roll the grandfather clock to the truck and up the loading ramp. Place it inside and secure it to the side of the truck with tiebacks. This should prevent the grandfather clock from shifting while in transit.
Credited to:https://www.moving.com/