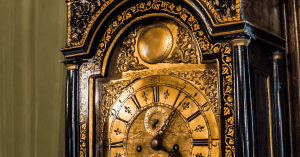
If you’re the proud owner of a grandfather clock, you may be interested in maintaining it and making sure that it runs well for as long as possible. Whether you bought it new or inherited it, a grandfather clock needs to be taken care of lest debris build up and clog the gears or ruin your clock. There are a few simple things you can do to ensure it has the best life without needing to call in the clock repairman.
1. Wipe Down Debris
If you’re finding the clock has a layer of dust or you just want to keep it shiny, use a damp soft cloth and run it lightly over the surfaces that are dusty. Go with the grain of the wood and make sure that your cloth is not overly wet. Avoid silicone polishes as it may damage the finish of the clock, to a point where refinishing or staining it will be nearly impossible. Keep a gentle touch to prevent any abrasive marks on your clock.
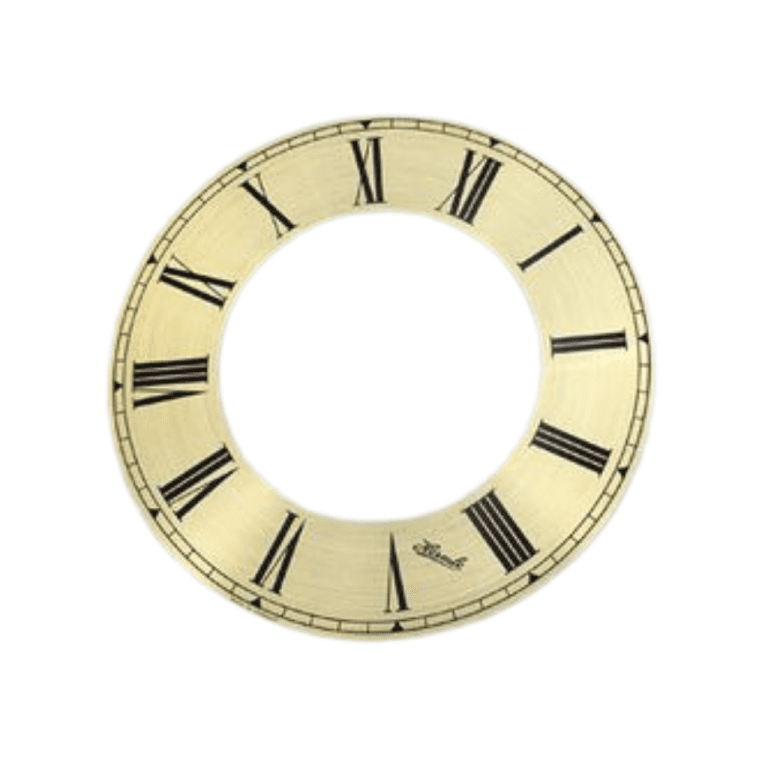
2. Clean Clock’s Face
The hands of the clock are very delicate and need to be precise in order to function well, so it’s imperative that you don’t put pressure or accidentally brush against them while you’re cleaning. It’s best if you do everyday dusting with a feather duster because it won’t press or move the hands and other tiny mechanisms.
However, for a more thorough cleaning, you might want to consider a damp cloth to spot clean areas that look dull. Aim to clean the clock when the both hands are pointed away from where you want to clean. It may take longer if you wait for the time to shift to make this happen, or you can move the hands as if you were resetting the clock and gently wipe the clock’s face like that. Do not use polish on the face.
3. Polish the Wood
You can wax and polish the wood housing of the grandfather clock. If you have the owner’s manual, you may want to check if there is a recommended polish, otherwise stick to a high quality furniture polish that you trust. Apply the polish with a lint-free cloth and then use that to rub it into the wood, going with the grain in order to have a seamless finish.
4. Shine the Glass
For the glass surfaces of the clock, you’ll want to use a window or glass cleaner. Be sure to spray the cleaner on to a lint-free microfiber cloth and then wipe down the glass parts. Don’t spray the cleaner onto the glass directly, as you risk the spray going beyond where you intend and possibly causing damage on wood and metal surfaces. Tip: for the outside glass surfaces wipe it down horizontally and clean the inside surfaces vertically, so that if there are streaks you’ll be able to tell which side you need to touch up again.
5. Attending to the Inside
Inside the clock there are a lot of sensitive internal mechanisms that allow it to run. Gears, springs and weights all work in tandem to keep time, but oil and dust can gather on the mechanisms and create a difficult environment for the clock to continue running, possibly damaging the equipment if it’s not cleaned.
However, you’ll want to get it professionally cleaned every six or seven years because the internals need to be dismantled, cleaned and put back together. Doing this yourself without the proper knowledge can result in damaging or breaking the clock and it voids the warranty.
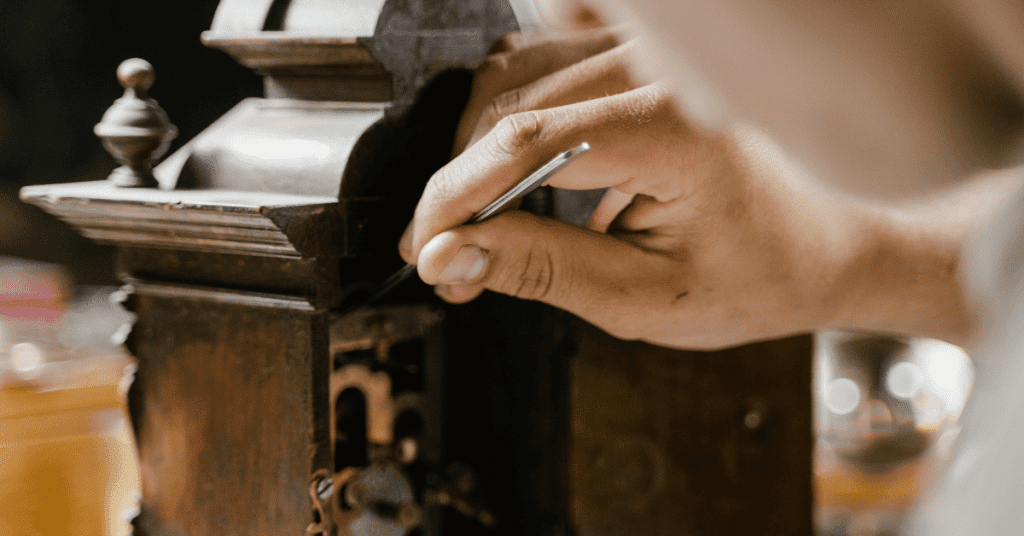
6. Oiling the Clock
Before attempting to oil your clock, it’s important to make sure that you’ve got the right oil. You’ll want to check the guide that came with your clock if there is a list of appropriate oils to use. If you aren’t sure, consult a clock repair technician as the wrong oil can damage the clock.
Once you’ve got the oil you need as well as the tools, you’ll want to go slowly and methodically throughout the next steps. You’ll remove the dial to get at the front plate where you’ll oil the contact points of gears with a gentle and precise hand. Try not to miss any spots, and work your way up from the lowest gear to the highest. Refer to your clock’s manufacturer guide to be sure of all the spots that need oil.
With the gears oiled, make sure to fill the oil sink that is typically located on the outside of the clock plate. You’ll want it half-full of oil, so be sure to not overfill it either because then you risk it spilling over and spreading oil inside inappropriate places.
Repeat this process every two years, or when you see that the clock is slowing as well-lubricated gears run consistently and a sign of needing more oil to work is that the clock isn’t keeping accurate time.
7. Other Tips to Remember
If you’re unsure at any step of maintenance, consult your owner’s manual and consider calling a professional for advice or service. You may also want to become more familiar with your clock, so research and examining your clock are good first steps.
Use gloves. Fingers contain their own oils and acids that can break down the finishes of wood and metals. If you’re going to be handling any parts, consider wearing cotton gloves for interacting with wood and latex gloves for metal. Brass in particular has a layer of lacquer that protects the metal from oxidizing and rusting, so even if you do handle it without gloves, wipe where you touch with a cloth and a safe all-purpose cleaner that is meant for use on metals.
Clean around the clock. Likely behind the clock is home to more than a few dust bunnies. It’s an easy spot to miss during everyday cleaning and it’s an area that can contribute to the dust and grime getting into your clock and wearing it down. Use a broom and be thorough in cleaning behind and around the outside of the clock. Wipe down dust that may have collected on the top of the clock as well.
Credited to:https://docs.google.com/